

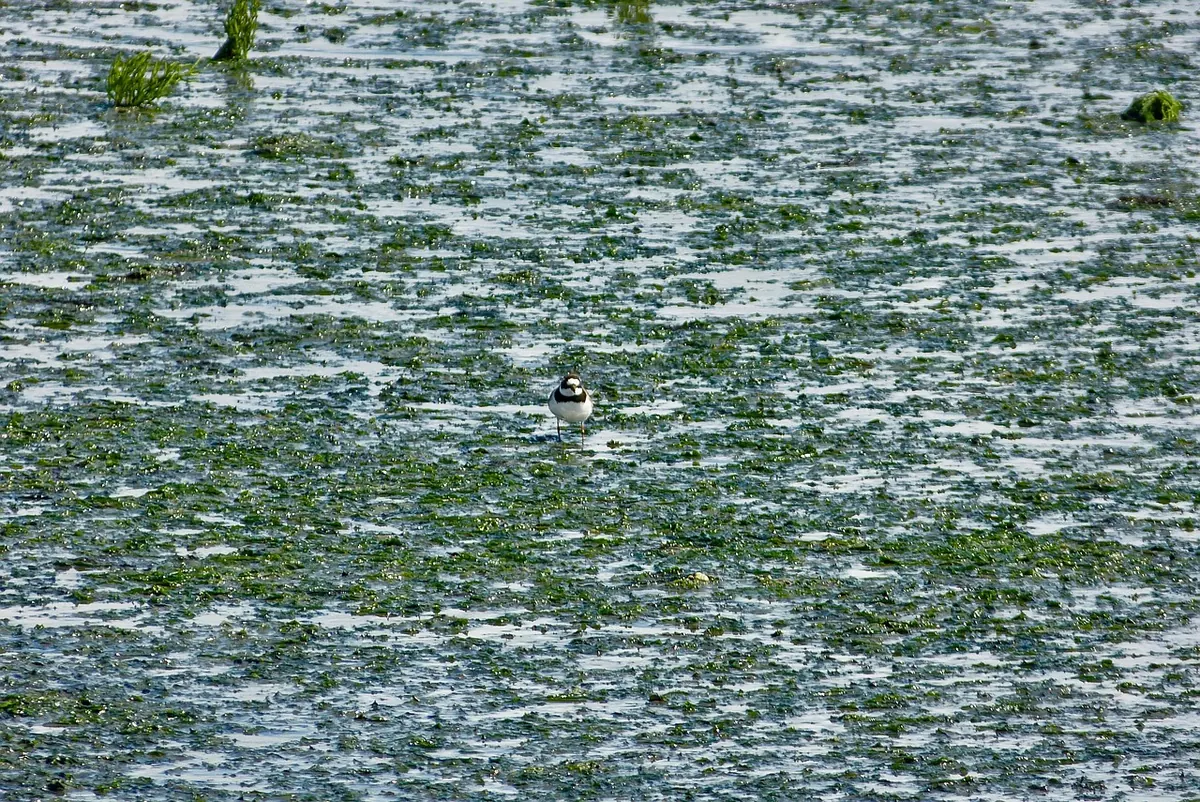
The best shorebird session of your life will probably start in a car park, in the cold, forty minutes before you expected to be there. Low tide is the appointment, and the birds keep it strictly. As the water pulls back it exposes a pantry of invertebrates — ragworms, cockles, small crustaceans — and thousands of waders arrive to work it. Your job is to be in the right place, at the right height, without ever making them stop feeding. That takes a little planning and a lot of patience, and both are learnable.
Read the tide table before you pack the scope
The tide is a wave, not a switch. The single number printed in the table — low water at 10:42, say — is the moment of maximum exposure. The interesting birding usually happens in the two hours before it and the hour after. Arrive too late and the mud is already shrinking; arrive too early and you are looking at open water.
Two things about that number matter more than beginners expect. The first is the height of the low, not just its time. A low of 0.4 m uncovers a very different world from a low of 1.3 m. The second is whether you are on a spring or a neap tide. Around the new and full moon, ranges are larger and huge areas of mud and sand appear; birds spread out across them and can be distant. In between, neap tides leave the mudflat smaller and often push feeding flocks closer to the shore — easier viewing, but also easier to disturb.
Weather shifts the reality on the ground. A strong onshore wind combined with low air pressure can push water higher and earlier than predicted; a stiff offshore wind can hold it back. On an exposed coast, give yourself a margin of half an hour either way, and never plan a route that depends on the sea arriving late.
Stand on firm ground and let the mudflat empty
The classic mistake is to walk straight out onto the freshly exposed mud. Two reasons not to. First, soft mud is a genuine hazard — it is easy to sink to the knee and remarkably hard to extract yourself quietly or gracefully. Second, every step out there sends a pressure wave of alarm through the feeding flocks, and you will spend the rest of the session watching birds fly away from you.
Instead, pick a viewpoint at the top of the beach: firm sand, shingle, an embankment or a slipway. Put the sun behind you if you can, keep the wind on your cheek, and use the wrack line — the dark band of weed and debris marking the last high water — as your reference. Birds often work along its edge, picking off what the tide left behind.
Then do the least exciting and most useful thing available: sit still for fifteen minutes. Feeding flocks settle quickly once they decide nothing is following them, and the birds will often drift towards your position on their own. A tripod helps; a foldable mat helps more.
How to scan a mudflat properly
Do not sweep your binoculars at random. Work the flat in a system and you will find more birds, and identify them better.
- Naked eye first. Look for the big shapes and the movement — a flock shifting, a bird running, a distant line of dots along the water's edge.
- Scan in bands. Start at the nearest edge of the mud and work left to right in strips, moving outwards. Then repeat a little further out. This stops you from repeatedly searching the same attractive-looking pool.
- Check the edges. Creek mouths, the rims of shallow pools, the line where wet mud meets dry sand, and the weed line. Most food and most birds concentrate there.
- Identify the closest bird, not the flock. Pick one individual, get the telescope on it, and study it until it moves. Then work outwards.
- Note behaviour. A bird's feeding action identifies it as reliably as its plumage, and you can see it at a distance.
Distance, body language and the ethics of a good view
There is no universal number of metres. A dunlin on open sand will tolerate less approach than a curlew near cover; a flock that has just arrived from a long flight is far more sensitive than one that has been feeding for an hour. Read the birds instead.
Heads down means feeding and relatively relaxed. One bird standing with its head up is the sentinel, and it is watching you. Stop moving. If heads keep coming up, you are too close — back off or stay put and let the flock settle. If birds are shuffling away from you along the shore, they are already paying a cost. And if anything takes flight because of you, you have crossed the line.
That cost is real. On cold days and during migration, the energy budget of a small wader is tight, and every unnecessary flight is spent from a reserve it needs for the next leg or the next frosty night. Disturbance also pushes birds off the best feeding patches and, at high tide, off the roosts where they rest and digest. So: use a telescope and stay back rather than walking in with binoculars. Keep your silhouette low. Move when the flock is feeding. Never walk through a high-tide roost, and give posted nesting areas and local restrictions a wide berth.
Identifying what you are looking at
Structure before colour
Beginners reach for plumage; experienced birders reach for shape. Ask how big the bird is relative to its neighbours, how long its legs are, and what its bill is doing. That gets you into the right family fast.
- Plovers — compact, short-billed, large-eyed. They feed by sight: a few quick steps, a stop, a peck, another run. Ringed plover, grey plover, and in some places Kentish plover.
- Sandpipers and stints — longer bills, longer legs, and a probing, sewing-machine action in the mud. Dunlin, sanderling, little stint, curlew sandpiper.
- Larger waders — curlew with its long, decurved bill; black-tailed and bar-tailed godwits with long, straight or slightly upturned bills; oystercatchers, loud and unmistakable, hammering at shellfish.
The plumage trap
The same species can look like three different birds. A dunlin in breeding dress has a black belly patch; in winter it is pale grey above and whitish below; a juvenile is buffy and neat. Add wet feathers, harsh light and distance and it is no wonder flocks get misidentified. Learn the winter and juvenile looks for your local common species first — those are what you will see for most of the year — and check leg colour and bill length carefully rather than trusting a single field mark.
A short kit list
- Tide table, saved offline, plus a note of the low-water height
- Scope and tripod if you have them; binoculars otherwise
- Waterproof boots and a mat or folding stool
- Warm layers and gloves — you will be standing still for longer than you think
- Notebook or phone for counts, times and the state of the tide
Leave the flat before the flat leaves you
The turn of the tide is quiet and quick. Creeks fill behind you, a shallow channel becomes an impassable one, and the route you walked out on is suddenly deeper than your boots. Watch the water, not just the birds, and give yourself a generous margin — if you are wondering whether it is time to go, it is. Tell someone where you are heading and when you expect to be back, particularly on an unfamiliar estuary.
Walking back along the wrack line with wet boots and a page of scrawled counts is the whole reward. Go slowly, keep your distance, and let the next low tide be the one where you finally sort out your stints.
Photo: Routenwechsel / Pixabay